Magento is a highly customizable e-commerce platform and content management system that you can use to build online storefronts or web sites for selling merchandise. Magento provides common e-commerce features, such as shopping carts and inventory management, and encourages extensive customization to meet your organization’s specific goals.
Magento 2 Merchant Beta codebase was released on July 15, 2015. This is a significant milestone before the general availability of Magento 2 in Q4 2015.
Before you begin the installation
1. MEMP(Mac OS X + Nginx + MySQL + PHP-FPM) stack should already be installed & configured in your system. And the system should meet the requirements discussed in Magento system requirements.
If MEMP stack is not installed, I would recommend homebrew package manager for installation.
2. Some Assumptions
Magento Dir: ~/Sites/opensource/magento/magento2beta
Virtual Host: magento2beta.dev
Once your MEMP system is ready meeting all the requirements, you are ready to move ahead for the installation.
Installation Steps
1. Create the project folder & clone the magento2 codebase
mkdir ~/Sites/opensource/magento/magento2beta && cd ~/Sites/opensource/magento/magento2beta
git clone [email protected]:magento/magento2.git .

2. Check out the master branch
git checkout masterOR you can directly use the following command while cloning:
git clone -b master https://github.com/magento/magento2.git
Note:
You can clone either the master or develop branch:
- master is more stable
- develop is more recent
Initially, we had an issue installing the sample data with the develop branch, which resulted in the following error:
Fatal error: Call to undefined method Magento\Catalog\Model\Resource\Product\Interceptor::getWriteConnection() in app/code/Magento/SampleData/Module/Catalog/Setup/Product/Gallery.php on line 144

Due to recent changes, you can now use sample data with either the develop branch (more current) or the master branch.
3. File permission
chmod -R 755 ./4. Update Magento dependencies using Composer
Install Composer if it’s not already installed:
curl -sS https://getcomposer.org/installer | php
mv composer.phar /usr/local/bin/composer
Now run Composer to update dependencies:
composer installThis command updates package dependencies and can take a few minutes to complete.

5. Install sample data before Magento installation
– Edit composer.son:
In the first section, add “minimum-stability”: “beta”, before license.
then run the following commands:
composer config repositories.magento composer http://packages.magento.com
composer require magento/sample-data:1.0.0-beta

Note: You can also install sample data after Magento installation
[EDIT]
Magento 2 dev team has an updated version on how to install sample data:
http://devdocs.magento.com/guides/v2.0/install-gde/install/web/install-web-sample-data.html
6: Finally install Magento System
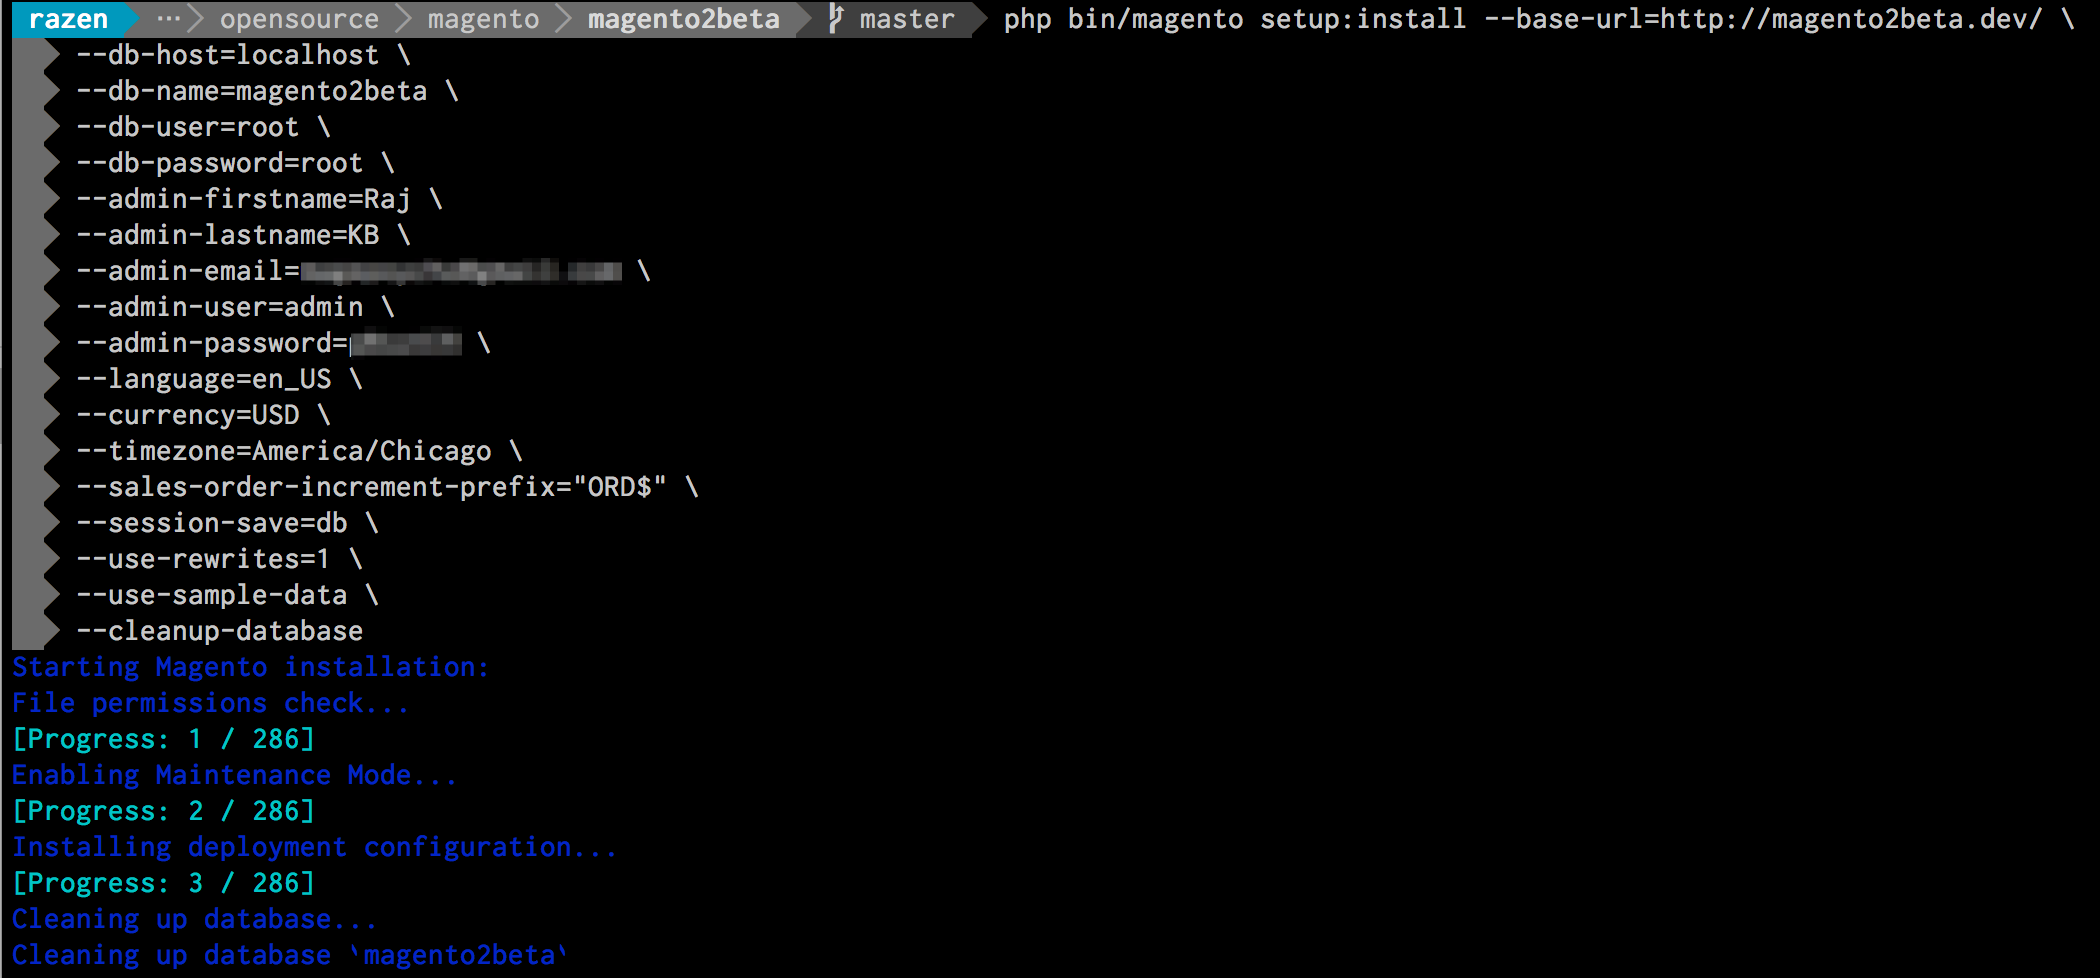
Run the following command in order to install the Magento system:
php bin/magento setup:install --base-url=http://magento2beta.dev/ \
--db-host=localhost \
--db-name=magento2beta \
--db-user=root \
--db-password=root \
--admin-firstname=Raj \
--admin-lastname=KB \
[email protected] \
--admin-user=admin \
--admin-password=pass123 \
--language=en_US \
--currency=USD \
--timezone=America/Chicago \
--sales-order-increment-prefix="ORD
quot; \ --session-save=db \ --use-rewrites=1 \ --use-sample-data \ --cleanup-database To find more information on command options, please check the following URL:
http://devdocs.magento.com/guides/v2.0/install-gde/install/cli/install-cli-install.html#instgde-install-cli-magento
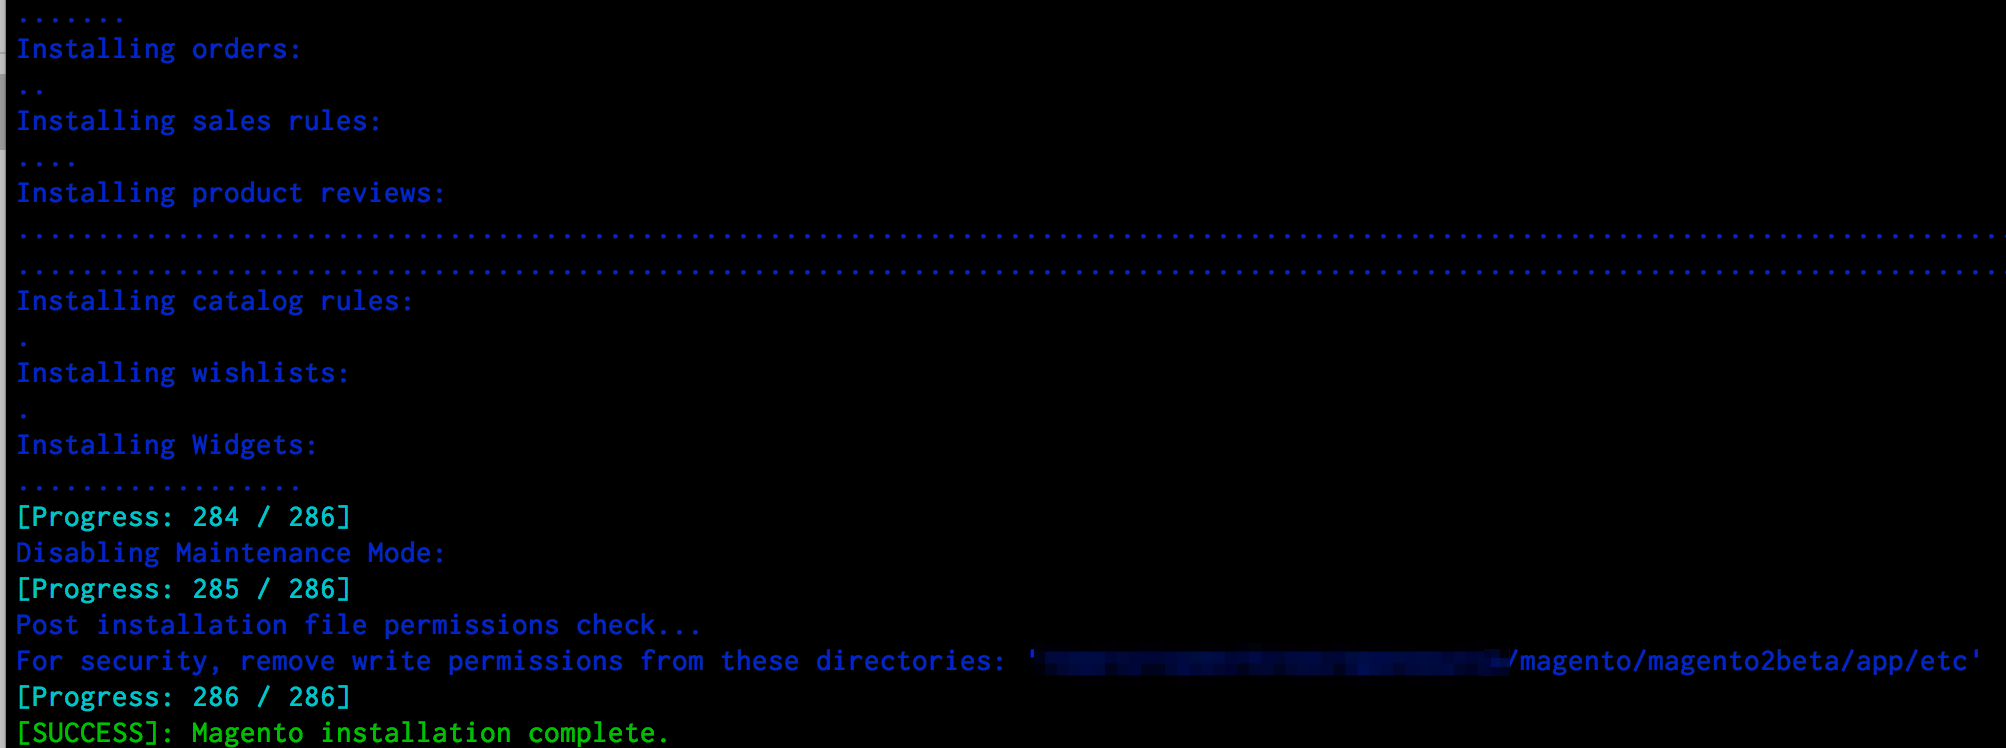
7: Installation Complete!
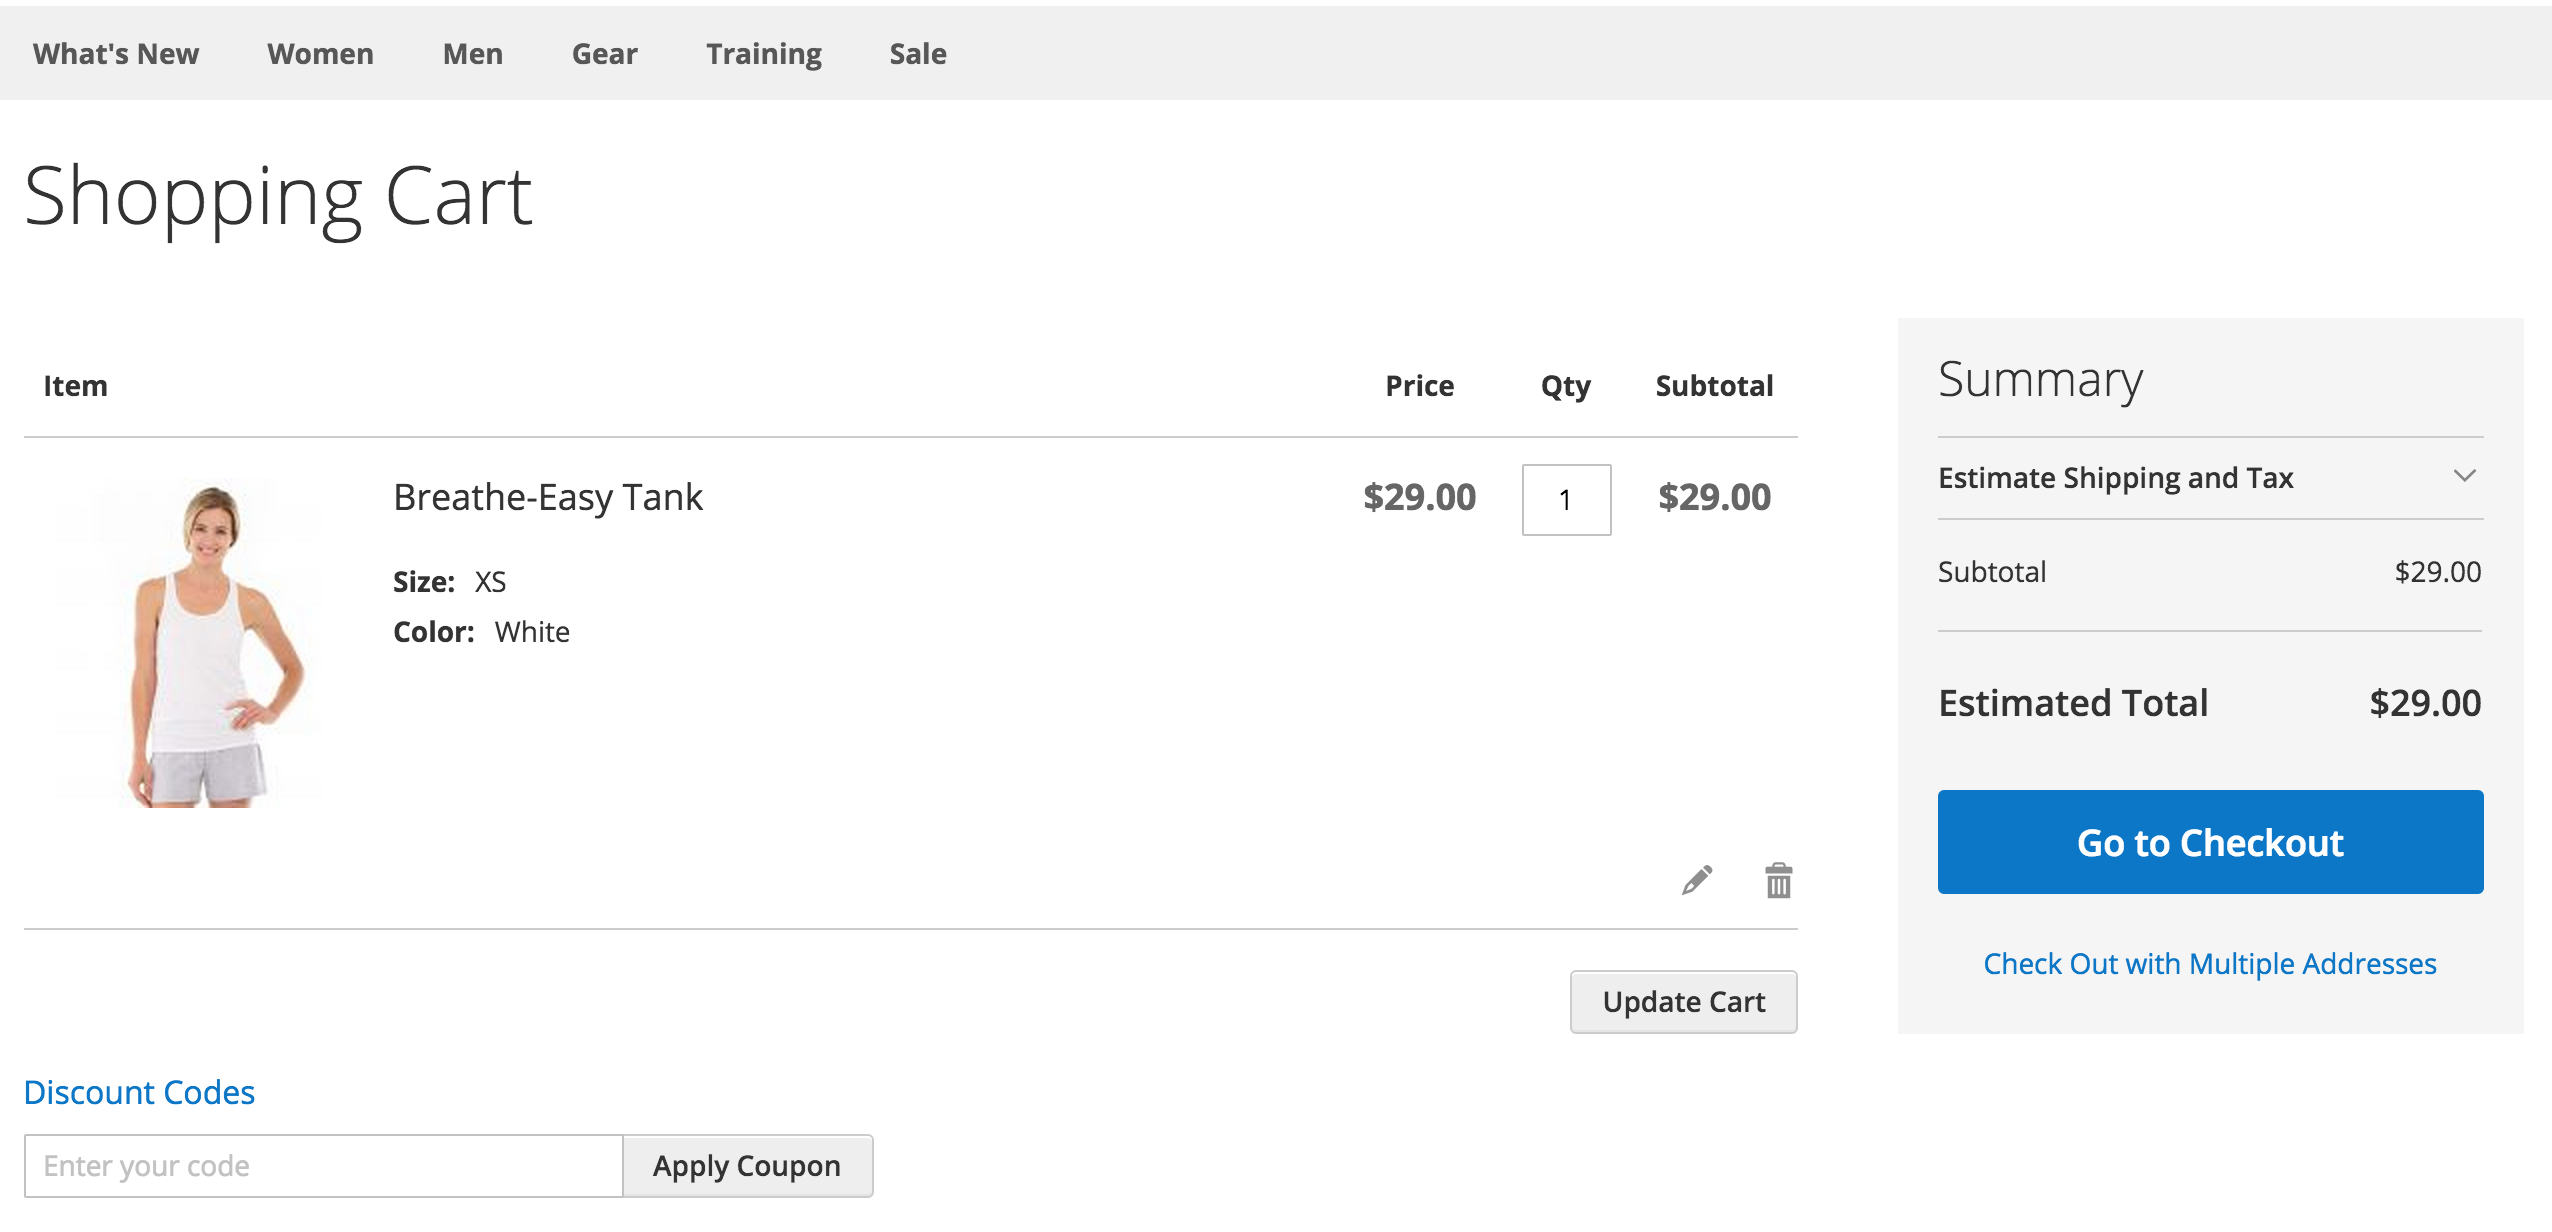
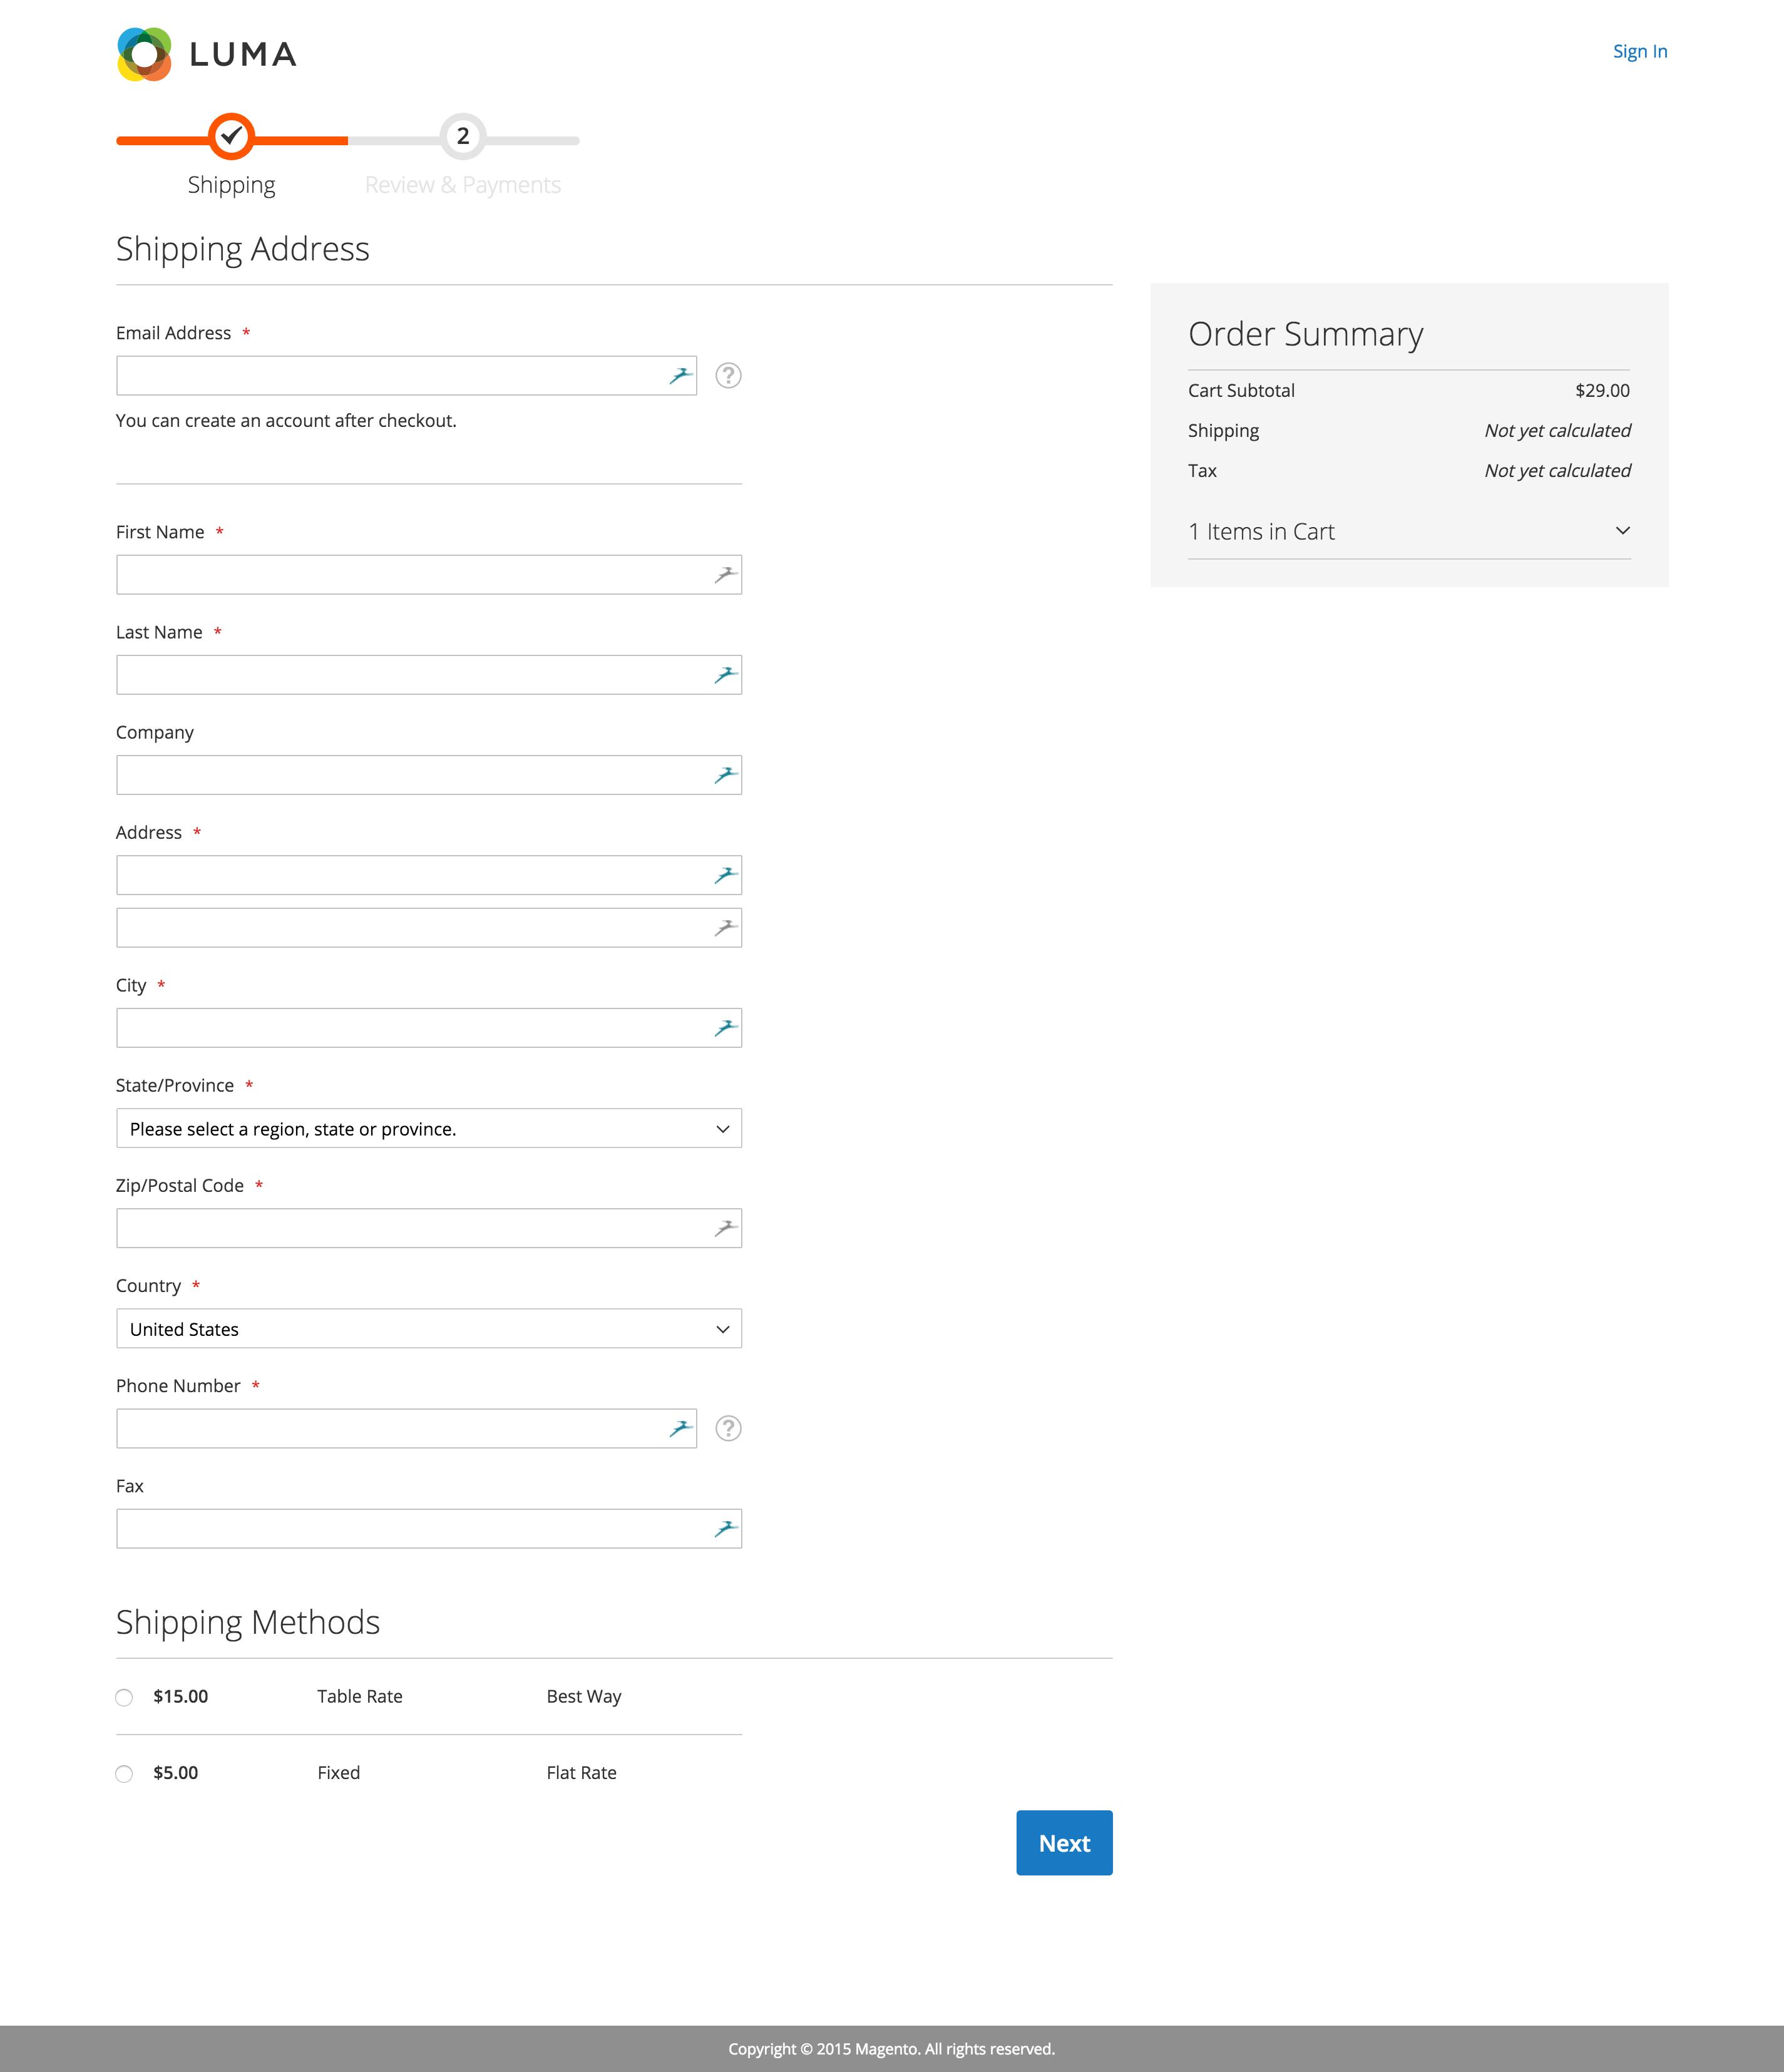
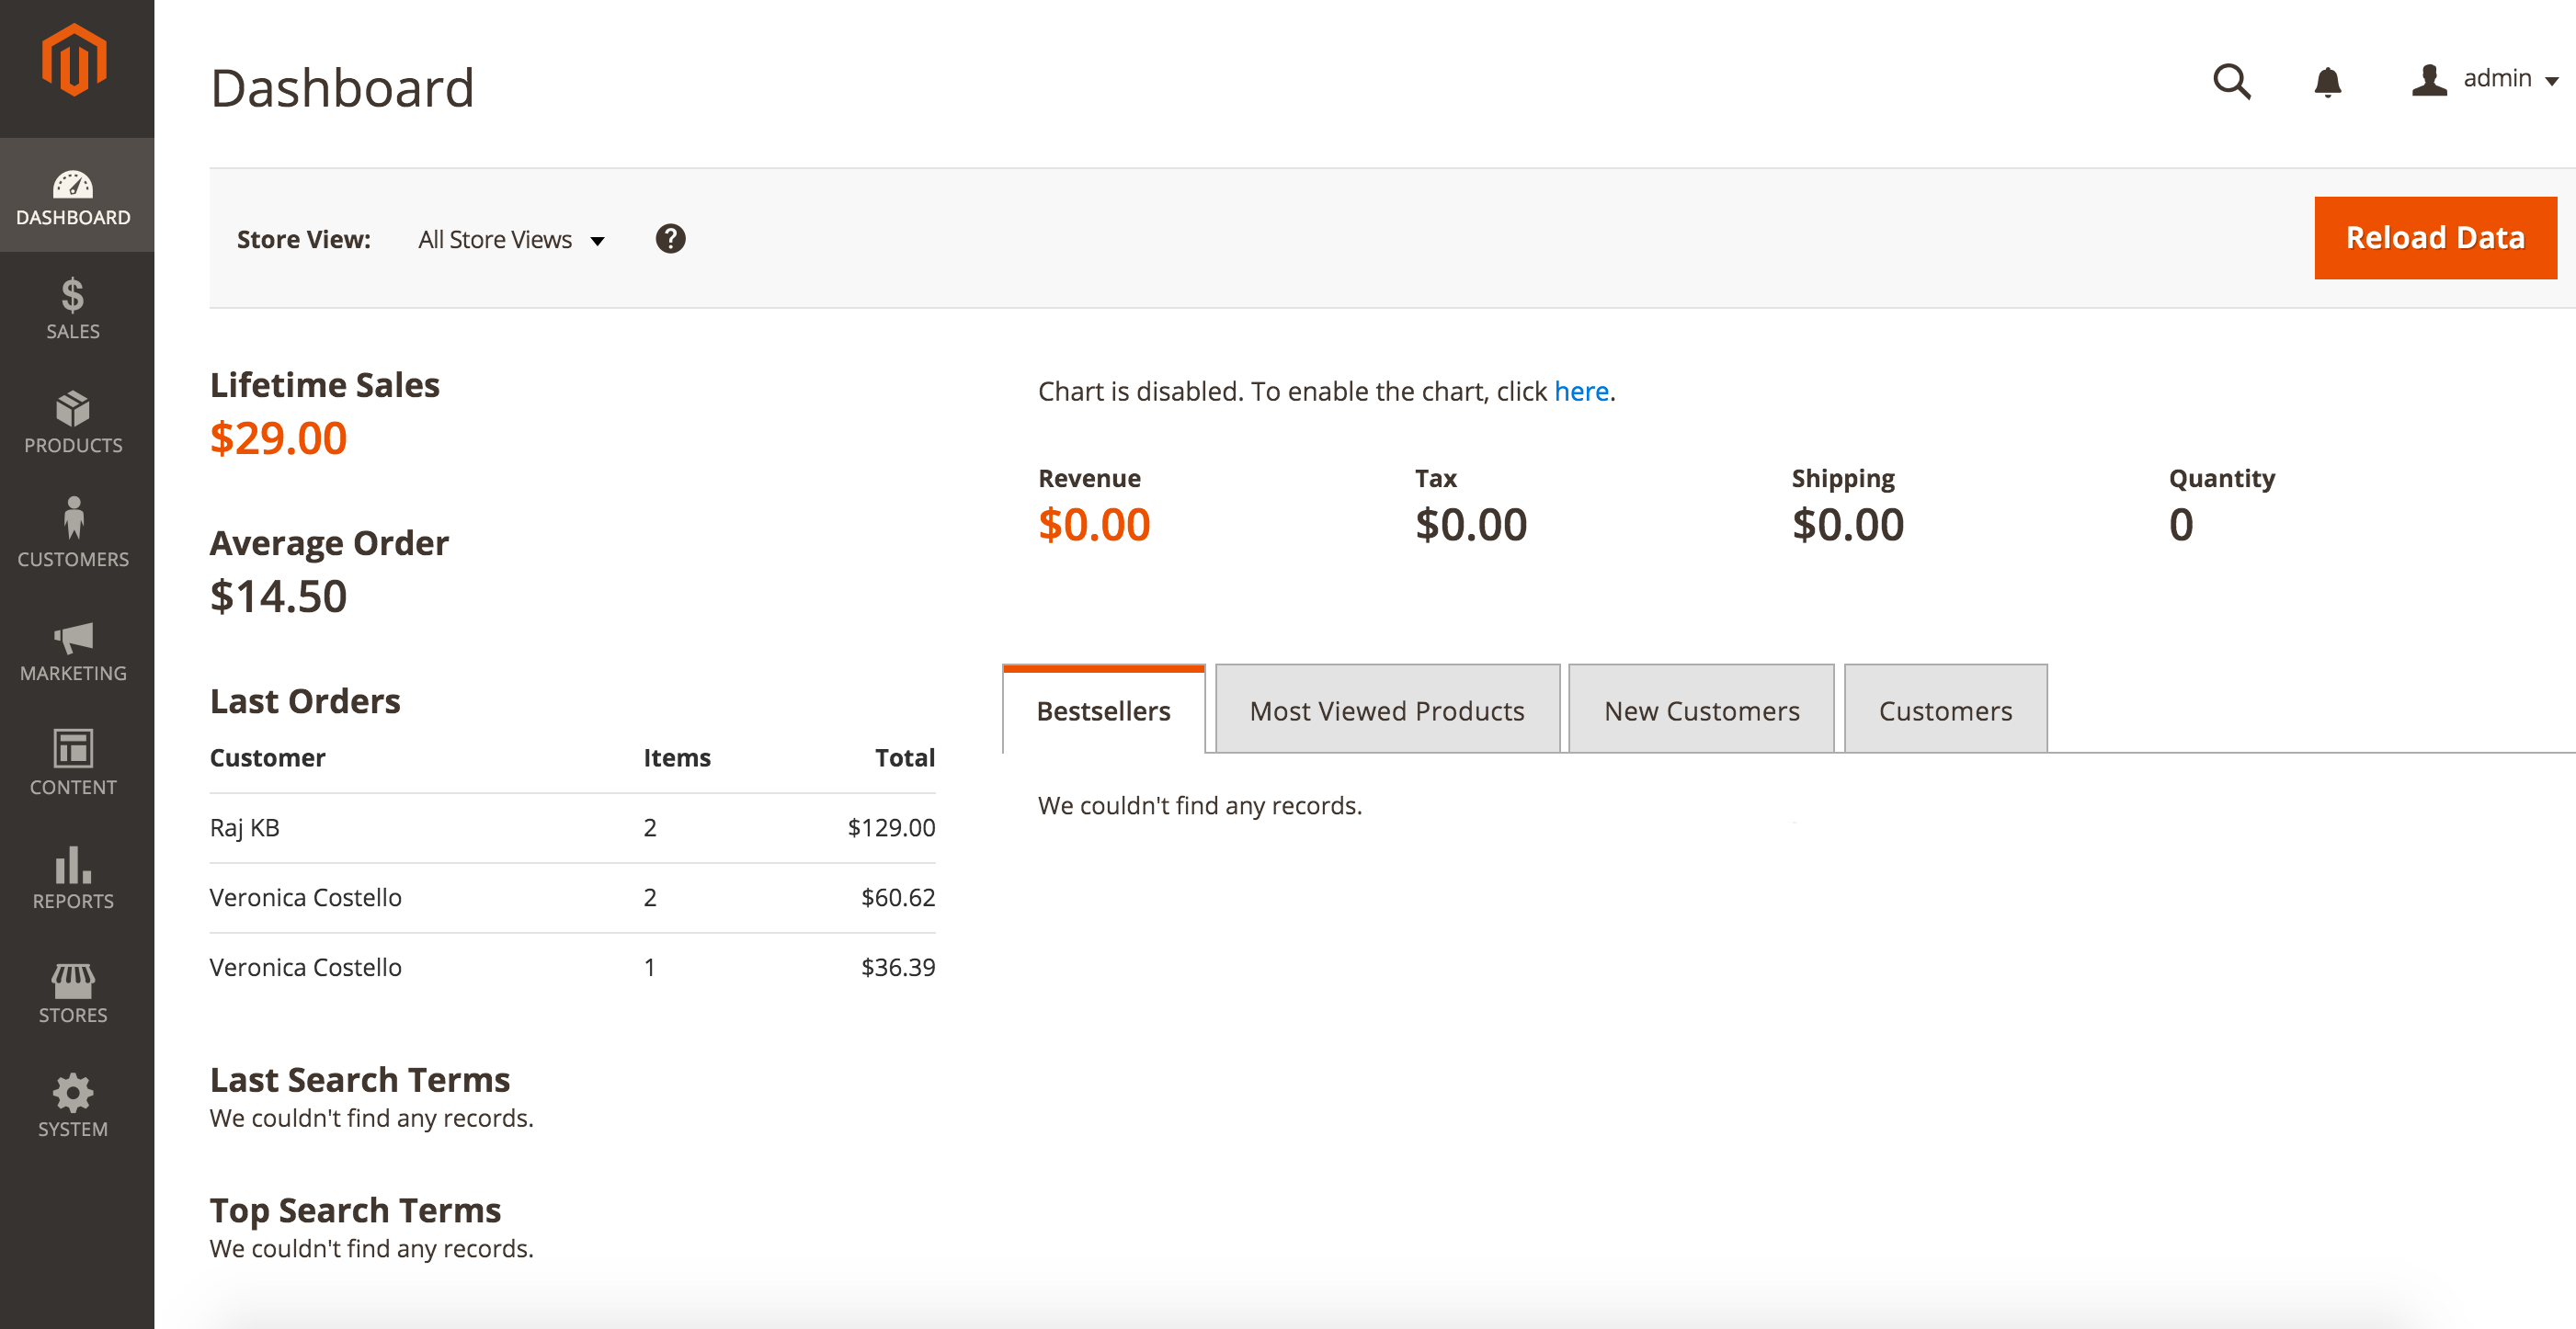
Now you can explore the frontend and backend.
Some Screenshots:


Have fun with Magento 2!
